WordPress on CPanel


I had to set up a WordPress instance on a server where my only real access is via cPanel, so I Googled a bit and found this article: http://www.howtogeek.com/howto/20859/install-wordpress-manually-on-your-website-using-cpanel-wizards/
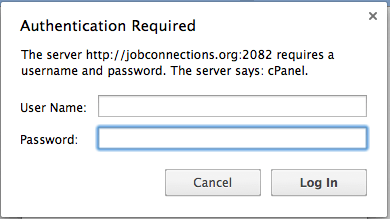
First step is to log in to the cPanel, which is typically at some arbitrary port on your server, and log in with your admin credentials. If you go to the right URL, you’ll be prompted with something like:
Type in your user name and password, click the “Log In” button, and you’ll see the cPanel home screen. In my case I see something like:
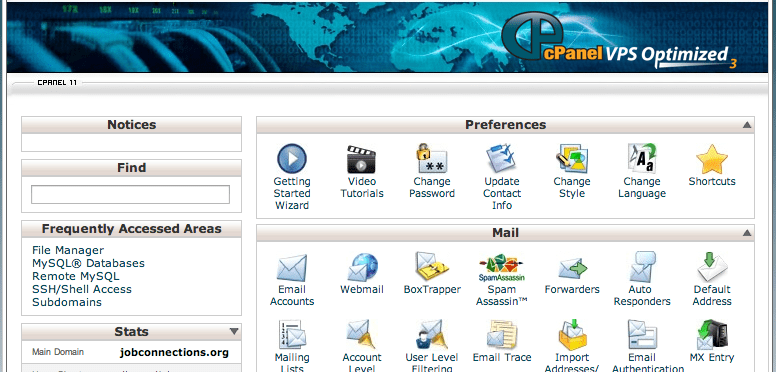
So, just like any WP installation, the first thing you need is a database, so you look for the Database Wizard (in the Databases section):

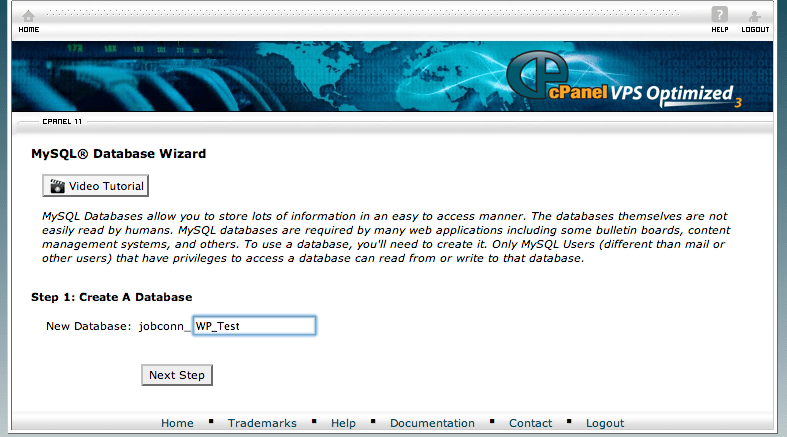
This will bring up the Wizard which will ask you for a name. In this case I’m creating a test wordpress, so I type in “WP_test” just so I know which DB I’m using. This can really be anything, just has to be unique.
If you’re on a shared host (which I am) this name gets prepended with your admin account name (this is how the server knows which databases belong to you and keeps you from seeing other people’s database schemas).
Going to the next step, you’ll be asked to create the database users. Again this can be anything, but also needs to be unique to the schema you’re creating. At this point the database has been created, but there are no users. The user name also gets prefixed with the account on a shared host system:
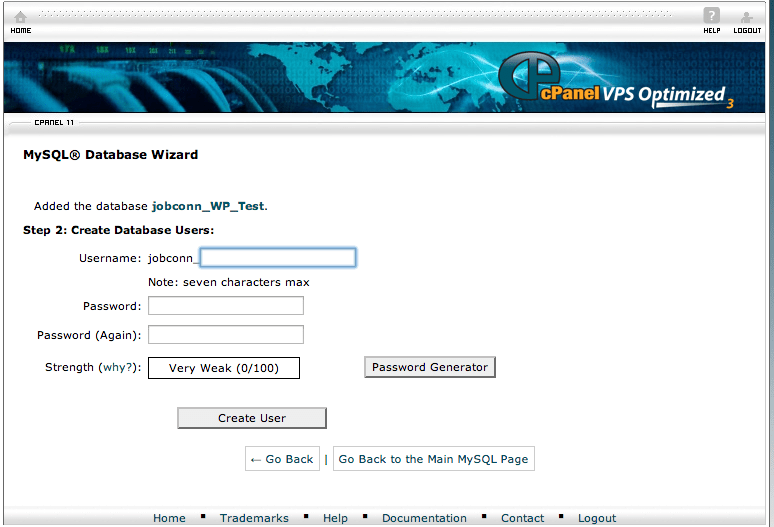
You can give the user any name and password you want, you will need those along with the database name once you are ready to fire up WordPress. I believe it is possible to use the same user for multiple databases by skipping this step and manually adding them to the newly minted database later instead, but it’s probably not the most secure way to set up access.
In my particular setup, I want to attach this new WordPress to a specific host name, so the next thing I do is my Subdomains panel in order to create the directory and tell Apache where to send the users. The default behavior is for the directory to be a folder under public_html with the same name as the subdomain, so in my case “WPtest” causes a folder named /public_html/WPtest to be created:
 In my case I prefer to keep them separate physically, so I remove the “public_html/” part and call the folder something more meaningful. Depending on your setup, you may also need to add this new host name to DNS, although for testing you don’t even need that (more on this later).
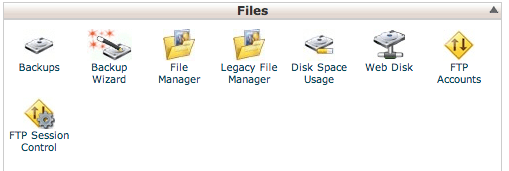
The next thing to do is to get the latest WordPress binary and upload it to the newly created folder, which you can do using the cPanel folder manager:
I next see a popup that asks me where I want the File Manager to start, so I pick my new subdomain:
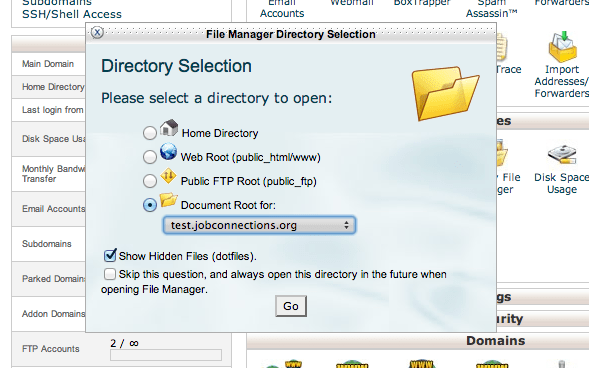
In reality it displays all of your folders, just starts up opened to that particular one which might save you a click or two. At the top of the file manager, you’ll see the menu bar where you can choose “Upload”:

You’ll get the typical button to choose the file with, and a status bar that will tell you when the upload is complete:

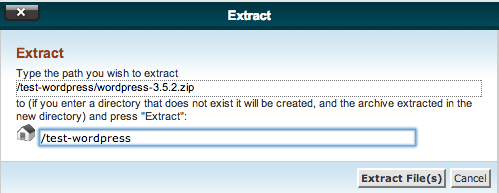
Once it is uploaded, go back to the file manager and with the file selected, click the “Extract” icon, or right click on the file and choose that option:
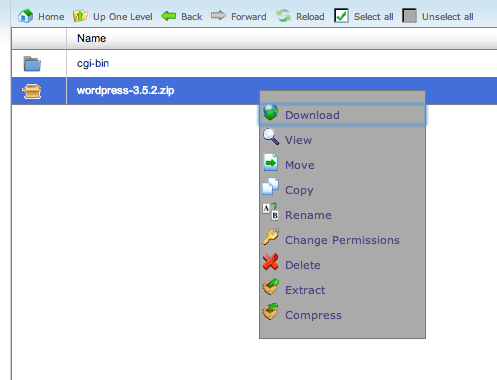
You can actually choose to extract it somewhere other than where you uploaded it, which could be useful for creating multiple copies or updating WordPress into multiple folders:
Now this ends up creating a wordpress folder under the one where you really want it, so I do a bit of cleanup that involves moving the contents of that folder up one level. I use the File Manager’s drag and drop to move the files, and then delete the empty folders and zip as shown in this video:
After that, the rest of the configuration is a standard WordPress setup through the browser (see: http://codex.wordpress.org/Installing_WordPress#Famous_5-Minute_Install)

